ACCESSIBLE HOMES
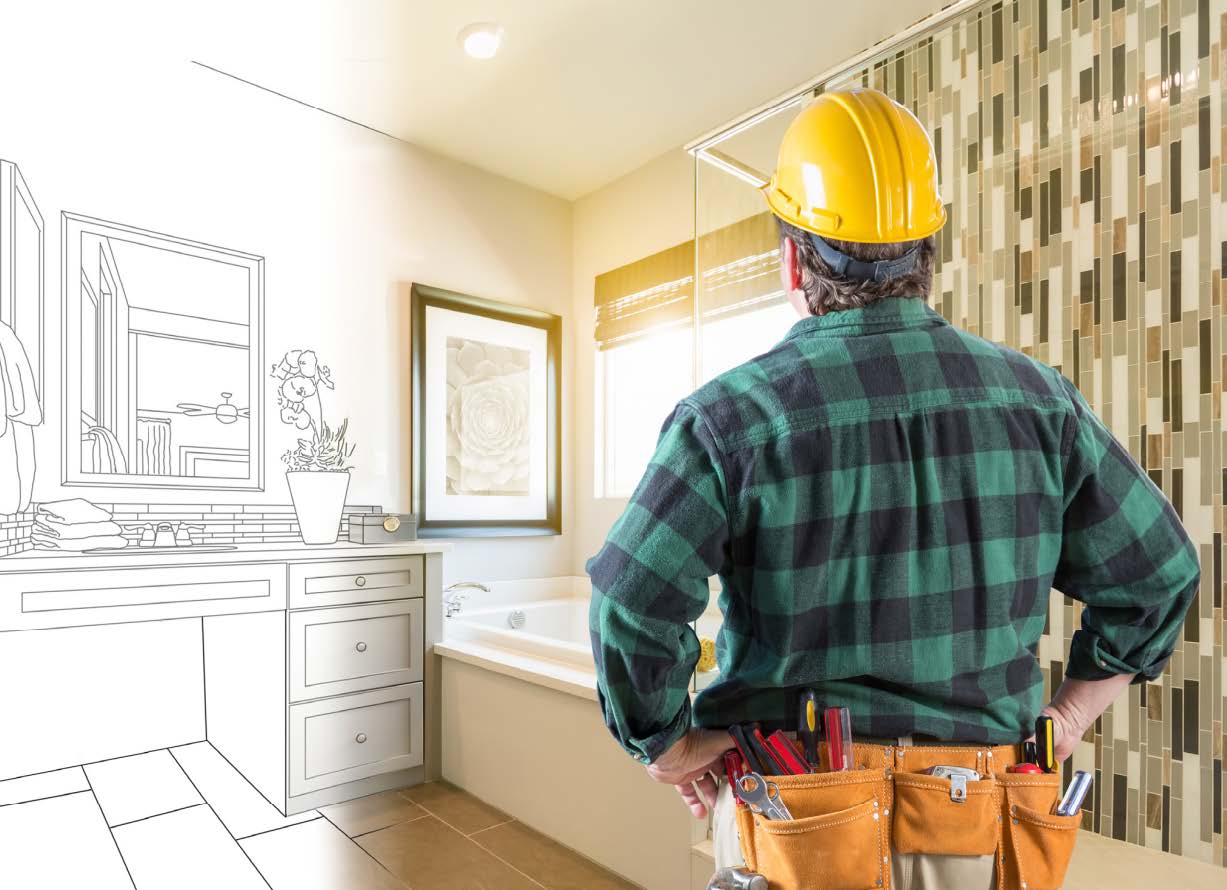
UNIVERSAL DESIGN
Plan now for your future by incorporating Universal Design and Aging-In-Place ideas into your home.
TIPS FOR AGING IN PLACE IN YOUR OWN HOME
BY SUSAN BERRY
HOW DOES UNIVERSAL DESIGN HELP PEOPLE AGE IN PLACE IN THEIR OWN HOME?
At the beginning of the 21st century, those aged 65 or over made up five per cent of the population. Across the globe the number of those aged over 60 will nearly triple by 2050, rising to 2.4 billion, up from 894 million in 2010. Universal Design is the principle of designing spaces for maximum usability for people living with disabilities, of varying size or limited mobility. There are no specific codes for Universal Design. There are suggestions. Universal design is not law, it is a way of viewing how things work in our world. These design principles compensate for a reduced range of motion, reduced sight, reduced sound and reduced strength. Many universal design inventions were originally developed for military use.
Universal design solutions make life easier for people with mobility, agility, balance and coordination differences. Successful universal design creates a barrier-free living environment. Since no two individuals are alike, no code solves every situation. Everyone needs to be their own advocate for their individual abilities and aging in place. Homes must be designed for the individual user's unique capabilities. There is no "one size fits all" solution. Children grow and adults change.
Consider designing your next home with the future in mind. When selecting a designer for a home where you intend to "AgeIn-Place," find one who listens to YOU. There are many CAPS certified designers and builders, but not all of them are looking at the individual's needs. Explore options and solutions. Create a design that gives you maximum ability within the constraints of your budget. Strive for safety. When people feel safe in their home, they gain self-confidence and increase independence.
gain self-confidence and increase independence. Design Smart Solutions, with 30+ years in the architectural design industry, knows that great design solutions are limitless.
WHAT IS THE DIFFERENCE BETWEEN UNIVERSAL DESIGN AND ADA, THE AMERICAN DISABILITIES ACT?
The American Disabilities Act provides legal guidelines for designing public buildings and space that accommodate the disabled. The guidelines are a minimum standard based on the general population.
Universal Design is not law. It is a free-thinking way of creating design solutions to address individual challenges. Universal Design and Ease of Use design decisions can ease the transition as we age or suffer from injuries affecting our mobility. None of us want to admit that someday we will be old and our bodies will not be as quick, our eyes not as focused and our reflexes not as sharp. The home we live in and our reaction to it will change. Our homes will either enhance our ability to live by our own choices or force us to move. By planning ahead during construction, with a few Universal Design tips, we can all extend the time we remain in our own homes.
DOORS, WINDOWS AND HALLWAYS
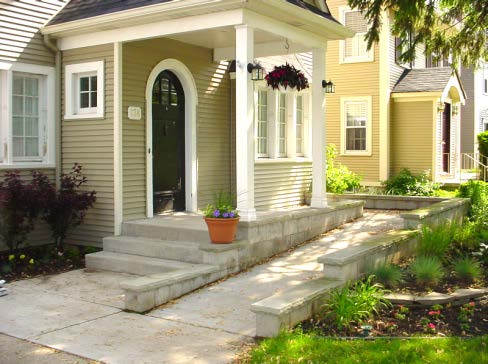
- 1. Have a covered outdoor entryway.
- 2. Allow space for a future ramp.
- 3. Minimize the front threshold.
- 4. Make sure that there is at least one step-free entry into the home with easy access to the driveway
- 5. Install 3′-0″ wide doors with lever door knobs throughout the house.
- 6. Do not block doorways.
- 7. Consider a 3′-0″ out-swinging or 6′-0″ sliding glass exterior door in a downstairs Accessible Guest Suite for easy emergency medical support access.
- 8. Consider 3′-0″ pocketing doors or 6′-0″ bi-pass doors on closets.
- 9. Make all Hallways a minimum of 5′-0″ wide and use the extra space for book shelves, a computer desk, or display furniture until a time when you need the addi tional access space.
- 10. Make sure that windows are easy to open and easy to lock.
- 11. Install towel bars that are rated as pull bars.
- 12. Install 48″ high robe hook and towel bars near the shower.
- 13. Consider towel bars that are also grab bars.
- 14. Install a shower curtain rod or create an open shower area. Avoid tight glass shower enclosures.
- 15. Create a shower without a step.
- 16. Install a comfortable seat in the shower.
- 17. Install soap and shampoo niches near the shower seat.
- 18. Install a hand held shower that mounts on a slide bar.
- 19. Consider installing a blow-drying machine to dry your entire body.
- 20. Check the size of a step in bath tub with the door that closes after you enter the tub. Many people do not like having to sit in the tub while it fills and then again while it drains.
- 21. Add an instant hot water heater by your bathroom.
- 22. Install lever faucets at sinks with pull out sprayers.
- 23. Consider a heat lamp if you chill easily.
- 24. Consider radiant floors for heat 25. Add a large linen closet with a 3′-0″ wide door in the bathroom for large towels and personal products.
BATHROOMS
- 1. Have the Builder put wood bracing behind the drywall and tile in the bathroom walls for future grab bar locations.
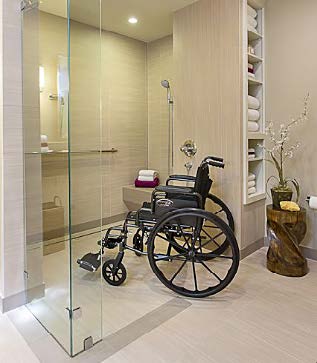
- 2. On the first floor, have a roll-in curbless shower without a step or lip (slope floor to drain in at least one bathroom).
- 3. This shower should be a minimum of 5′-0″ wide by 4′-0″ deep.
- 4. This shower could be located near a Guest Suite or used as the Pool Bath.
- 5. Consider multiple shower heads.
- 6. Have a hand held shower head mounted on a slide bar, with a sepa rate valve to control it from a seat ed position.
- 7. Install lever faucets in this bathroom and an adjustable handheld shower head. Do the closed fist test, by see ing if you can turn the water on and off with a closed fist.
- 8. Provide a toilet in the same bath room with a 3′-0″ clear empty space next to it for transferring.
- 9. Install comfort level toilets for ease of use.
- 10. Install a bidet if you have space.
FLOORS, STEPS AND STAIRS
- 1. Select slip-resistant flooring that is comfortable.
- 2. Limit stairs. Design stairs wide enough to fit a future chair lift.
- 3. Consider building a 5 x 5 closet on the first floor with a 5 x 5 closet above, for a future elevator.
- 4. Minimize changes in floor level throughout the home and outdoor spaces.
- 5. Anywhere that there is a step-down, select two different colors of flooring material.
- 6. Minimize any step down to the garage. Provide enough clear floor space for a future ramp.
- 7. Make sure that there is adequate space in the garage to maneuver a wheelchair with an assistant around a parked vehicle.
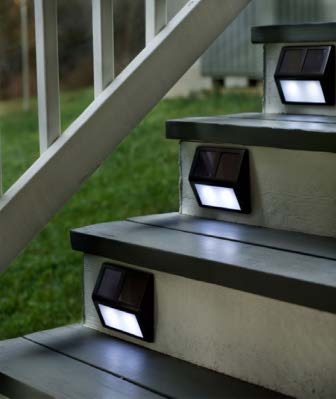
- 8. Add extra lighting to the Garage for maximum visibility.
- 9. If you need to walk through a laun dry room to access the garage, make sure that it is large enough for both a wheelchair to turn around in and clothes hampers on the floor.
KITCHEN & LAUNDRY
- 1. Create work areas in the kitchen.
- 2. Install pull out racks and drawers in base cabinets.
- 3. Keep everyday storage at waist level.
- 4. Install dishwasher drawers.
- 5. Add a 9″ high kick plate under a standard size dishwasher.
- 6. Install a Microwave drawer.
- 7. Add under counter safety lighting.
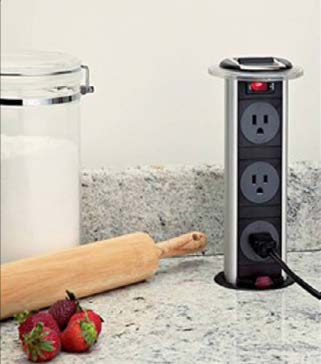
- 8. Bring outlets to the front of the cabinets for easy reach.
- 9. Leave a minimum of 48″ clearance between surfaces in kitchen aisles.
- 10. Buy a front-loading washer and dryer set and mount them on a pedestal.
- 11. Consider an adjustable height sink that raises and lowers at the push of a button.
- 12. Consider an adjustable height range that raises and lowers at the push of a button.
- 13. Buy a side by side refrigerator freezer.
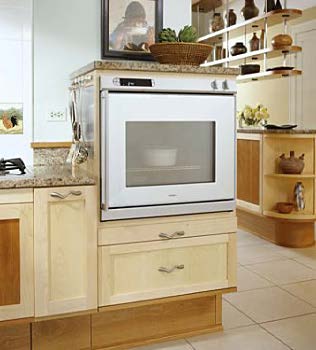
- 14. Provide a pull out shelf below a wall oven door.
- 15. Use "D" shape cabinet pull handles.
- 16. Have multi-level countertops for different tasks.
- 17. Use light colored countertops to make items easier to see.
- 18. Use easy slide and close drawers.
- 19. Use a 3′-0″ pocket door on the pantry.
- 20. Mount wall ovens at a height where they can be reached from a seated position.
- 21. Add an instant hot water faucet at the sink.
- 22. Install a pull-out flexible faucet at the kitchen sink and laundry sink.
- 23. Select lever faucets.
- 24. Locate the faucets to the side of the sink for easier reach.
- 25. Put lockable caster wheels on a kitchen island for flexible space.
LIGHTING AND ELECTRICAL
- 1. Automate Lighting Systems.
- 2. Maximize natural light.
- 3. Locate extra security system and lighting controls in the rooms where you plan to spend most of your time.
- 4. Install adequate lighting throughout the home for safety and visibility.
- 5. Locate electrical service boxes, security boxes, main water disconnect valve and any system controls that you might need to access in an emergency, where they can be com fortably reached from a sitting posi tion. 42″ to 48″ off of the floor.
- 6. Make sure that the thermostat is not higher than 48″ off the floor.
- 7. Make sure that electrical outlets are 18″ to 24″ off of the floor.
- 8. Make sure that all switches are easy to reach from a seated position.
- 9. Consider easy touch lighting and electrical switches.
- 10. Install task lighting in all areas.
- 11. Make sure that kitchen some electrical outlets can be reached from a seated position.
- 12. Install flood lights equipped with timers on all corners of the outside of the house. Have them on timers.
(Reprinted from DisabilitySmartSolutions.com with permission from the author.)
ABOUT THE AUTHOR:
Susan Berry of Disability Smart Solutions is an architecture graduate, NCIDQ Nationally Certified Interior Designer, NCBDC Nationally Certified Building Designer, and an International Code Council Certified Accessibility Inspector and Plans Examiner, along with her 30+ years in the Florida construction industry, she knows accessibility. Email: info@DisabilitySmartSolutions.com